To set up a cable pulley on your home gym rack, start by choosing a location at shoulder height that has sufficient clearance for your workouts. Gather the necessary tools, such as a drill and heavy-duty bolts, to ensure a secure installation. Use a robust mounting bracket to fasten the pulley, ensuring it can handle the load you plan to use during your exercises. Next, thread your cable through the pulley and connect it to the loading pin, adjusting the cable length to suit your preferred exercises. Lastly, test the setup for stability and smooth operation to ensure a safe workout experience. There are additional factors to consider for a secure and effective setup, so be thorough in your preparations.
Key Takeaways
- Select a position on your rack that provides ample room for movement, allowing you to perform exercises with ease and safety.
- Firmly attach the pulley using a reliable heavy-duty mounting bracket, and double-check that all connections are secure for your safety.
- Adjust the cable lengths carefully to ensure smooth operation and consistent resistance, which is essential for effective workouts.
- Test the setup by gradually adding weight and performing various exercises to verify its stability and functionality, ensuring a safe workout experience.
- Regularly check the pulley system for any signs of wear and ensure that the cable moves freely, maintaining a safe and effective home gym environment.
Selecting the Right Location on the Rack
When choosing the ideal location on the rack for your cable pulley in your home gym, focus on a spot that allows for a full range of motion during your exercises.
Position the pulley at or near shoulder height to optimize performance. Ensure there’s ample clearance for the weight stack and cable movement to avoid any interference while you work out.
Position the pulley around shoulder height for optimal performance, ensuring sufficient clearance for the weight stack and cable movement.
It’s crucial to confirm that the mounting area is robust enough to support both the weight and the dynamic forces created during your workouts.
Additionally, think about the proximity to other equipment, leaving enough space to reduce obstruction and enhance safety throughout your exercise routine.
This will help you achieve your fitness goals effectively and safely in the comfort of your home.
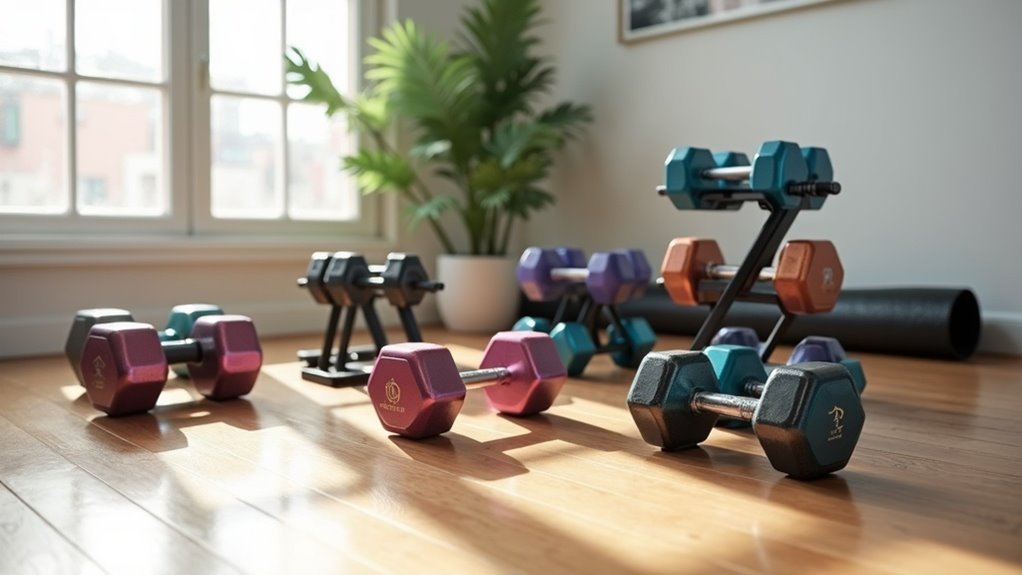
Gathering Necessary Tools and Materials
Before you start setting up your home gym, gather the necessary tools and materials to ensure a smooth and efficient process.
You’ll need specific items such as a floor flange, eye bolt, and a suitable pulley to create versatile workout stations.
Additionally, gather essential tools like a drill and bolt cutters for installation.
As you prepare, keep safety precautions in mind, ensuring that everything is secure and stable for optimal performance during your workouts.
This preparation will help you create an effective space for exercising at home, promoting a healthy lifestyle for both men and women.
Required Tools Overview
To successfully set up a cable pulley for your home gym, gather the essential tools and materials that will ensure a smooth installation process.
You’ll need a drill equipped with a 3/8 inch bit for drilling holes, a wrench for securing the eye bolt, and bolt cutters if you’re using vinyl-coated cable.
Keep clamps handy for cable ends and scissors for cutting military-grade paracord if that’s your choice.
Test various pulleys, opting for a smooth one with a sturdy 500-pound capacity to support your workouts.
Lastly, don’t forget to equip yourself with safety gear like gloves and goggles to protect yourself during the setup procedure.
This will help you create an effective and safe workout environment at home.
Essential Material List
Gathering the essential materials is crucial for a successful cable pulley setup in your home gym. Here’s what you’ll need: a 3/4 inch floor flange, a 3/8 inch eye bolt, a 3/4 inch by 12 inch pipe nipple, and a 1.25 inch PVC pipe for the weight storage pin.
Choose a suitable pulley with a high weight capacity, ideally around 500 pounds, costing approximately $20. Make sure to have a drill ready to create a 3/8 inch hole, along with bolt cutters for cutting clear vinyl coated cable or paracord.
Finally, prepare plywood to protect your weight plates at the bottom of the weight storage pin assembly. With these materials, you can create an effective and safe exercise setup right at home, allowing you to stay fit and healthy.
Safety Precautions Needed
When setting up your cable pulley for your home gym, prioritizing safety is crucial to prevent accidents and ensure a smooth installation process.
Begin by gathering all necessary tools, including a drill, bolt cutters, scissors, and wrenches. Make sure you have the right materials, such as a 3/4 inch floor flange, a 3/8 inch eye bolt, and a 3/4 inch by 12 inch pipe nipple.
Always wear safety gear—gloves and goggles—when handling tools. It’s important to double-check the load capacity of all components, aiming for a pulley with at least a 500-pound capacity to support your workouts.
Lastly, secure all connections with lock nuts and clamps, and verify that everything is tight and stable before using the pulley to ensure a safe and effective exercise experience.
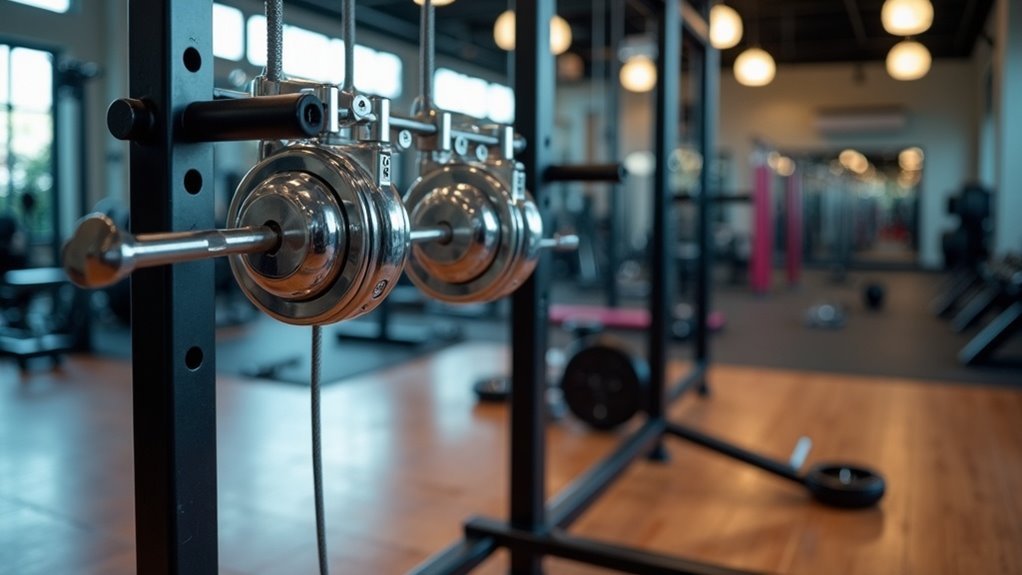
Attaching the Pulley Securely
Attaching the pulley securely is crucial for ensuring safety and functionality during your home workouts.
Follow these steps to properly attach the pulley in your home gym:
- Use a sturdy mounting bracket that exceeds the weight capacity of your pulley system to accommodate various exercises.
- Secure the bracket with heavy-duty bolts and washers, ensuring a tight fit to prevent any movement during your workouts.
- Incorporate a locking mechanism, such as a nut or pin, on the bolts to prevent loosening due to vibrations from intense sessions.
- Position the pulley at an appropriate height to maintain a clear cable path and allow for a full range of motion, enabling you to maximize your workouts.
Regularly inspect all connections for wear and tear to guarantee ongoing safety as you pursue your fitness goals at home.
Threading the Cable Through the Pulley
With the pulley securely mounted, it’s time to focus on threading the cable through your home gym pulley system.
Start by taking your clear vinyl coated cable or paracord and feed it through the pulley wheel, ensuring it runs smoothly without any kinks or twists.
If you’re using cable, attach clamps to both ends to prevent slippage; for paracord, tie secure knots.
Adjust the cable length to provide enough slack for your range of motion while maintaining tension, allowing for effective workouts.
Finally, test the system by pulling on the cable, confirming it moves freely and is properly secured before adding any weights.
This setup will enhance your home workouts, helping you stay fit and healthy in the comfort of your own space.
Connecting the Cable to the Loading Pin
Connecting the cable to the loading pin is a crucial step in ensuring your home gym pulley system operates effectively. Whether you’re a fitness enthusiast or just starting your workout journey, following these guidelines will help you achieve a secure connection:
- Cut the cable to the desired length, ensuring it fits your workout needs, and attach clamps to prevent any slippage during use.
- Utilize a 3/8 inch eye bolt to establish a strong anchor point on the loading pin, securing it with a lock nut for added safety.
- Thread the cable through the pulley before connecting it to the loading pin to ensure smooth movement during your exercises.
- For enhanced stability, consider placing plywood at the bottom of the loading pin.
Finally, it’s important to test the connection by applying a load, ensuring everything is secure before you begin your workout. This will help you enjoy a safe and effective training session at home.
Adjusting Cable Length for Exercises
To adjust the cable length accurately for your home gym exercises, measure it based on the specific workout you’re performing.
Ensure the cable allows for full extension and contraction to maximize your results.
Don’t forget to test the length with practice reps to confirm it meets your resistance needs, helping you stay fit and healthy right from the comfort of your home.
Measuring Cable Length Accurately
Accurate cable length measurement is crucial for maximizing your home workout routine with a cable pulley system.
Whether you’re a man or woman looking to enhance your fitness journey, follow these steps to ensure precision in your measurements:
- Use a tape measure to determine the distance from the pulley to the weight storage pin.
- Add extra length for adjustments, taking into account your specific exercises and your full range of motion.
- Consider your height and the desired angle of pull, as these factors significantly influence the effectiveness of your workouts.
- If you have multiple pulleys in your setup, measure each one individually to avoid slack or excessive tension, ensuring a smooth and efficient exercise experience.
Adjusting for Exercise Variability
When adjusting cable length for various exercises in your home gym, it’s crucial to ensure that the cable is securely attached to both the pulley and the weight pin to prevent slippage during your workout.
Opt for a cable with adjustable lengths, such as military-grade paracord, which allows for easy modifications with secure knots.
Keep in mind the height of your pulley system; higher pulleys may require longer cables for exercises like tricep extensions.
For movements that involve different angles, adjust the cable to maintain consistent resistance throughout your workout.
Regularly check and fine-tune the cable length as needed to ensure optimal performance and safety for a variety of exercises tailored to your fitness goals.
Stay committed to your health and fitness journey at home!
Testing the Setup for Stability and Functionality
Before you start using your cable pulley for home workouts, it’s essential to ensure that your setup is stable and functioning properly. Follow these steps for a safe and effective experience:
- Check Connections: Make sure the cable pulley is firmly secured to the rack, and double-check that all connections are tight.
- Weight Test: Gradually add weight to the pulley to ensure it operates smoothly. Pay attention for any unusual grinding noises that could indicate an issue.
- Stability Test: Apply force in different directions to test for any wobbling or instability in the setup.
- Cable Path Inspection: Confirm that the cable moves freely through the pulley and is free from any obstructions.
Finally, execute a few test exercises to assess the ease of movement and the consistency of resistance, ensuring it aligns with your fitness goals at home.