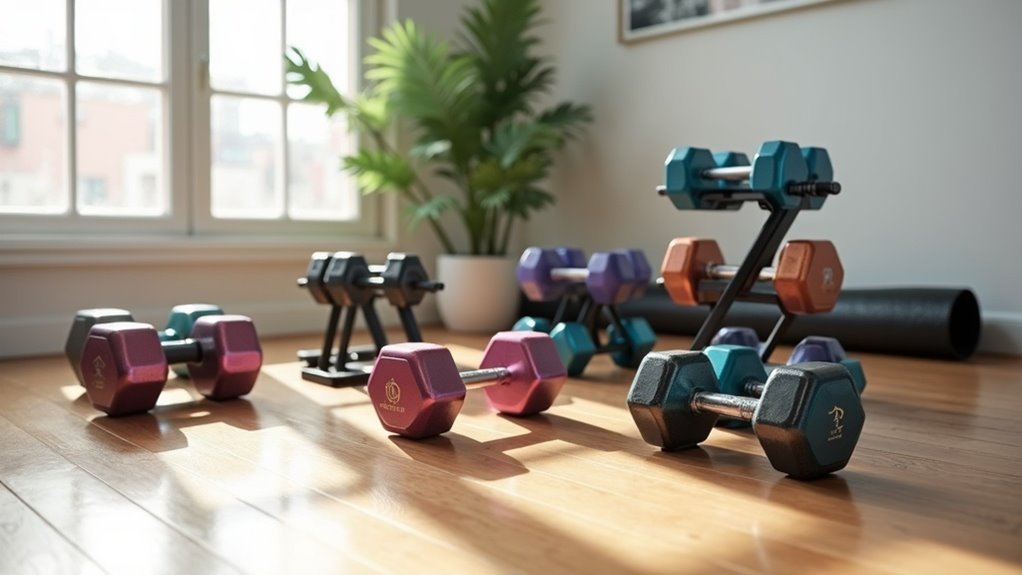
To effectively level your power rack on uneven floors and create a safe home gym environment, begin by thoroughly inspecting your garage floor for any gaps or slopes using a bubble level. To stabilize the rack, utilize steel or UHMW plastic shims, placing them under the feet to ensure a solid foundation. Adjust the rack’s height using leveling bolts and promote proper weight distribution by storing weights symmetrically on the rack. Make sure to secure all bolts tightly for safety, and consider additional mounting options if necessary. For ongoing stability and maintenance tips, you can find more vital information to enhance your home workout experience.
Key Takeaways
- Begin by visually inspecting the area where your power rack will be placed, using a bubble level to pinpoint any high and low spots on the floor.
- To ensure a stable and secure setup, use shims made from steel, UHMW plastic, or even DIY plywood to level the feet of your power rack.
- Adjust the height of the rack with leveling bolts, accommodating any slope in the floor to ensure a flat and safe workout surface.
- Once everything is aligned, securely fasten all bolts and consider using wall or floor mounts for additional stability, providing peace of mind during your workouts.
- Make it a habit to regularly check and document the level of your power rack, the tightness of all hardware, and the condition of the floor to maintain a safe and effective home gym environment.
Identifying Uneven Areas in Your Garage
To ensure your power rack is stable in your home gym, start by identifying any uneven areas in your garage. Conduct a thorough visual inspection of your garage floor, looking for gaps, cracks, or sloping regions that could affect stability during your workouts.
Use a bubble level in various spots to accurately pinpoint high and low points on the floor. This will help you assess the extent of any unevenness. Additionally, perform a rolling barbell test; if the barbell rolls in one direction, it indicates a slope.
Document your findings to determine where adjustments or shimming are necessary to create a safe workout environment. Remember to regularly recheck the floor after any changes to maintain level stability and ensure your home gym remains a reliable space for your fitness journey.
Choosing the Right Shims for Stability
Once you’ve pinpointed the uneven areas in your garage, the next step is selecting the right shims to ensure your power rack stands stable and securely. For optimal durability and load distribution, consider using steel or UHMW plastic shims. Steel shims from trusted brands like Rogue are excellent for gym equipment, providing the stability needed for your workouts. Alternatively, DIY plywood shims can be a great option, allowing you to customize them for uneven surfaces.
| Shim Material | Benefits |
|---|---|
| Steel | Highly durable, specifically designed for stability |
| UHMW Plastic | Lightweight, will not compress under heavy loads |
| Plywood | Easily customizable, effective for balancing weight |
Once you’ve placed the shims securely under the feet of your power rack, be sure to check its stability to ensure a safe and effective workout environment.
Adjusting the Power Rack Height
Adjusting the height of your power rack is crucial for ensuring proper lifting mechanics and safety while you work out at home.
Begin by using the leveling bolts at each corner to raise or lower the rack, making precise adjustments to accommodate any slope in your flooring. Aligning the rack with the back wall helps minimize the effects of the slope and maintains even bar placement for a more effective workout.
If your rack features adjustable height settings, double-check that the pins or hooks are securely latched at your chosen height to prevent any accidental movement during your lifts.
Lastly, make it a habit to regularly check the height and stability after making adjustments to create a safe lifting environment, and consider adding shims as needed to enhance stability for your home gym setup.
Ensuring Proper Weight Distribution
To ensure stability in your home gym power rack, focus on effective weight placement strategies that prioritize lower weights on the rack and even distribution across all sides.
Balance is essential, so arrange similar weight amounts symmetrically to prevent leaning or rocking during your workouts.
Additionally, store weights lengthwise and securely fasten them to minimize movement, which will enhance overall stability and safety while you exercise at home.
Weight Placement Strategies
While ensuring proper weight distribution is vital for the stability of your home gym‘s power rack, it’s important to follow specific weight placement strategies. Store heavier weights on the bottom shelves to lower the center of gravity and prevent tipping, making your workouts safer.
Always place weights symmetrically to maintain balance and avoid imbalances during lifts, which can affect your performance. Using dense rubber flooring beneath your rack enhances grip and stability, reducing movement when lifting and boosting your confidence during exercises.
Regularly check and adjust weight placements after adding or removing plates to ensure an even load, promoting safety. Additionally, consider weight storage solutions to keep plates organized, improving safety and efficiency in your workout space.
This approach not only enhances your home gym experience but also supports your journey to staying healthy and fit through exercising at home.
Balancing Weight Storage
Properly balancing weight storage is essential for maintaining the stability of your power rack during workouts, whether you’re lifting at home or in a gym.
Follow these guidelines to ensure effective weight distribution for a safer and more efficient exercise experience:
- Store weights lengthwise on the weight posts to maximize stability.
- Distribute heavier weights evenly across all storage pegs to prevent tipping.
- Regularly check and adjust weight placements after adding or removing plates to maintain balance.
- Use denser rubber flooring beneath the rack to minimize shifting during intense workouts.
- Implement organized weight storage solutions to reduce clutter and enhance your home gym environment.
Securing the Power Rack for Safety
To ensure your power rack is secure and safe for your home gym, begin by properly installing bolts to enhance stability.
Use steel shims to level the rack on uneven surfaces, making it suitable for a variety of home environments.
For added support, consider anchoring the rack to wall studs.
It’s important to regularly check all connections to ensure the rack remains secure during heavy lifts, allowing you to focus on your fitness goals with confidence.
Proper Bolt Installation
Proper bolt installation is crucial for securing your power rack and ensuring your safety during home workouts. Follow these steps for effective installation:
- Use high-quality bolts and washers that are compatible with your rack to ensure durability and reliability.
- Tighten bolts evenly and progressively to maintain a level position, which is important for balanced lifting.
- Regularly check and retighten bolts, especially after relocating your rack, to prevent any instability during exercises.
- Consider wall or floor mounts for additional stability, making your home gym safer for all users.
- Perform a stability test after installation to confirm that everything is secure and ready for your workouts.
Use of Shims
After confirming that the bolts are securely installed, it’s time to focus on leveling your power rack with shims. Place shims under the lower side of the rack’s feet to compensate for uneven surfaces, enhancing stability during your workouts. You can opt for durable steel shims from reputable brands or create DIY UHMW plastic shims for a custom fit tailored to your specific needs. Remember to check the level frequently after use to ensure that the shims remain secure, allowing you to train safely and effectively.
| Shim Type | Material | Purpose |
|---|---|---|
| Steel Shims | Steel | Durable, adjustable |
| DIY UHMW Shims | UHMW Plastic | Custom fit, precise |
| Regular Checks | – | Maintain stability |
Wall Anchoring Techniques
Securing your power rack to the wall is an essential step to ensure safety during heavy lifts, whether you’re a seasoned gym-goer or just starting your fitness journey at home.
Effective wall anchoring enhances stability and prevents tipping, making your workouts safer. Follow these guidelines for a secure installation:
- Use lag bolts or heavy-duty screws to anchor into wall studs for optimal support.
- Locate studs with a stud finder to ensure a solid foundation for your equipment.
- Space anchors approximately 24 inches apart, adhering to your manufacturer’s recommendations for best results.
- Use a level to confirm that the rack is plumb, ensuring balanced load distribution during your lifts.
- Consider adding straps or cables for additional lateral resistance, enhancing stability during intense workouts.
Maintaining Your Setup Over Time
To ensure your power rack remains stable and safe for your home workouts, it’s essential to regularly check its level, especially after moving it. Use a bubble level to assess its alignment and make necessary adjustments with shims or leveling bolts. When tightening hardware, do so in a crisscross pattern to ensure that all joints remain level and secure. Additionally, periodically inspect the floor beneath the rack for any signs of wear or settling, adjusting shims as needed to maintain stability. Keeping a record of any adjustments made will help you uphold consistent maintenance practices.
| Task | Frequency | Notes |
|---|---|---|
| Check Level | After Moving | Use a bubble level |
| Inspect Floor | Monthly | Look for wear or settling |
| Tighten Hardware | During Setup | Crisscross pattern |
| Document Adjustments | As Needed | Ensure consistent maintenance |